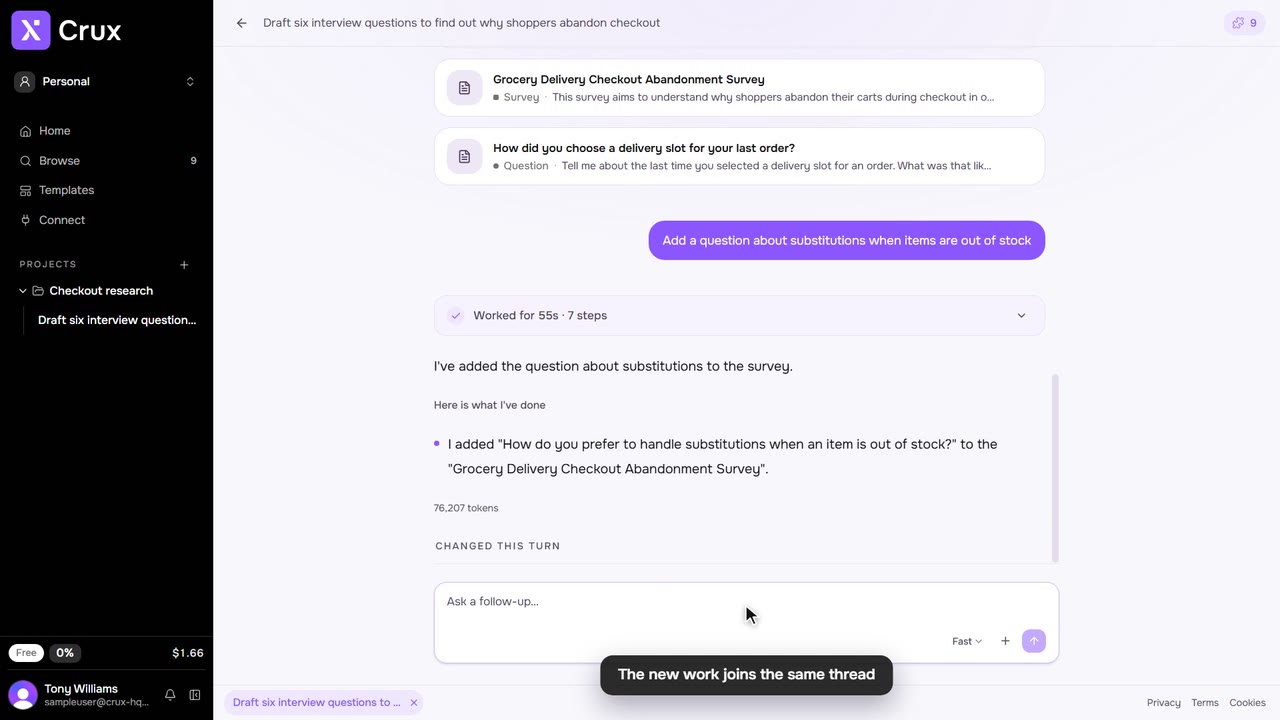
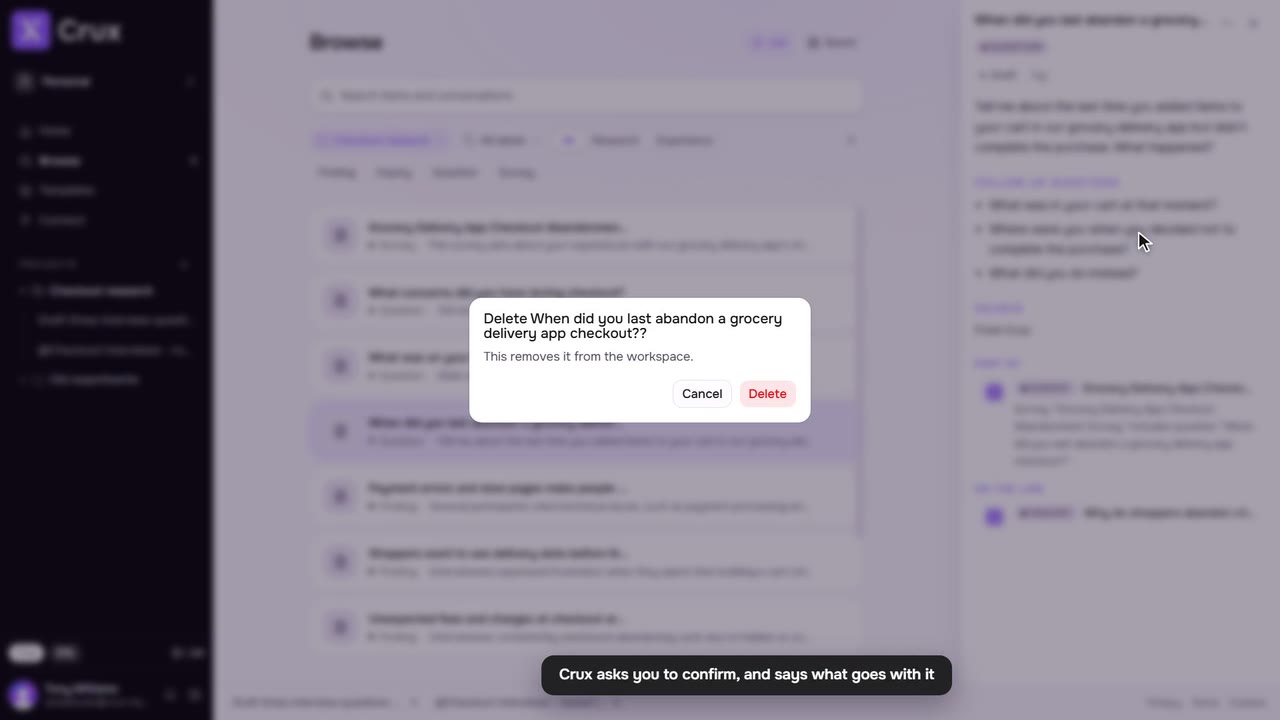
A project is a folder for one piece of work: a product, a feature, a round of research. Every thread you start in it, and everything Crux makes there, belongs to that project.
Step by step
Step 1: Add a project
In the sidebar, click + beside Projects. A folder called New project appears, with No chats yet under it, and Home opens ready for its first prompt.
Step 2: Or choose it as you ask
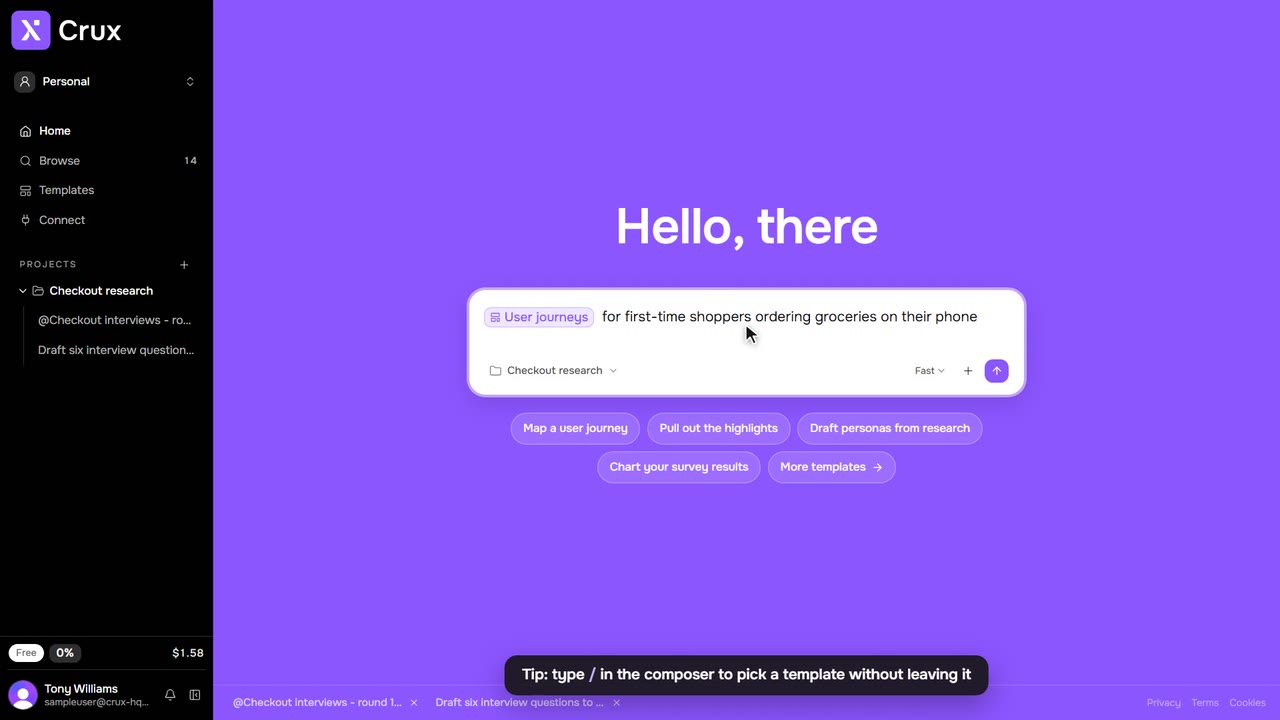
On Home, the composer shows the project a new thread goes into. Click it and choose New project to start the thread in a fresh one, or pick an existing project.
Step 3: Name it
The first prompt you send in a new project names it. To change the name, click … beside the folder (or right-click it), choose Rename, type the new name and press Enter.
Step 4: Open it
Click a project’s name to see everything in it in Browse. Click the arrow beside the name to show or hide its threads.
Tips
- If you start from the homepage while a project with threads is open, Crux asks whether it is a new project or part of that one.
- In a team space, use a project’s … menu to publish it to the team’s viewers, or to move one of your own projects into the team.